1.Visit our Website ” https://pro.teeallover.com/” to Log in or Register

After you have successfully logged in or registered, Go to Import WC Orders to import your orders
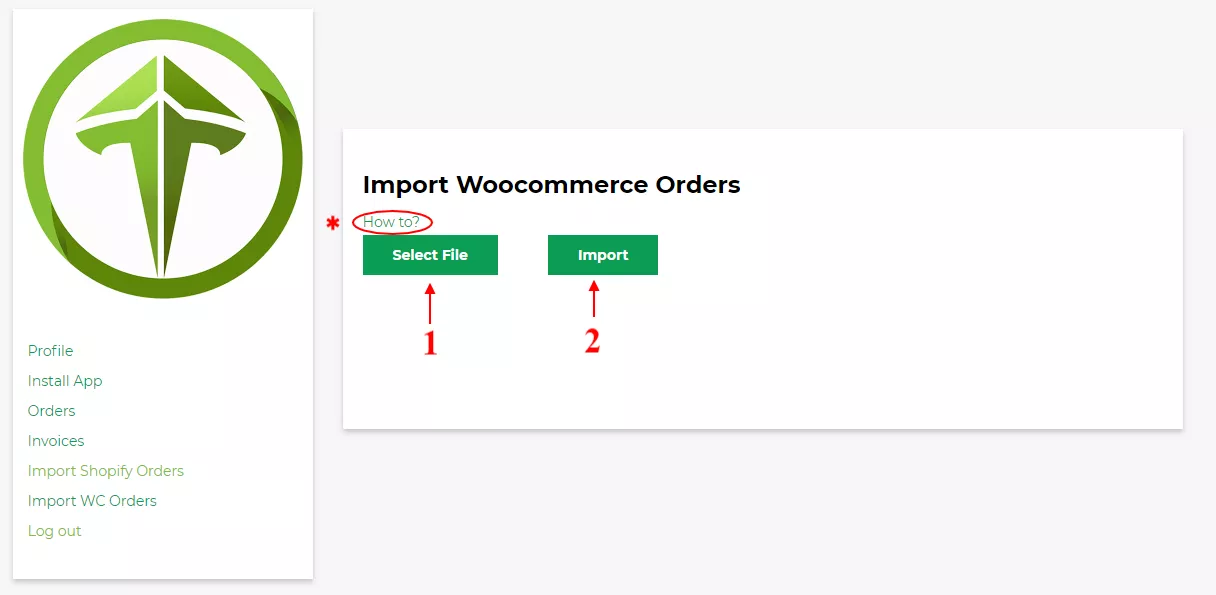
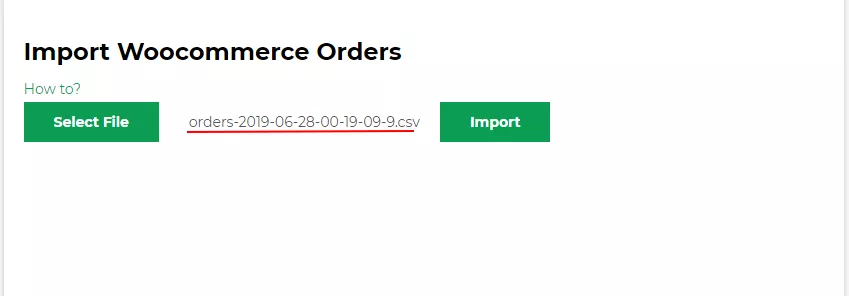
 2. Click Select File (1) in the Import Woocommerce Orders Window. Choose locate your order File, then Click Open. Next, click Import (2)
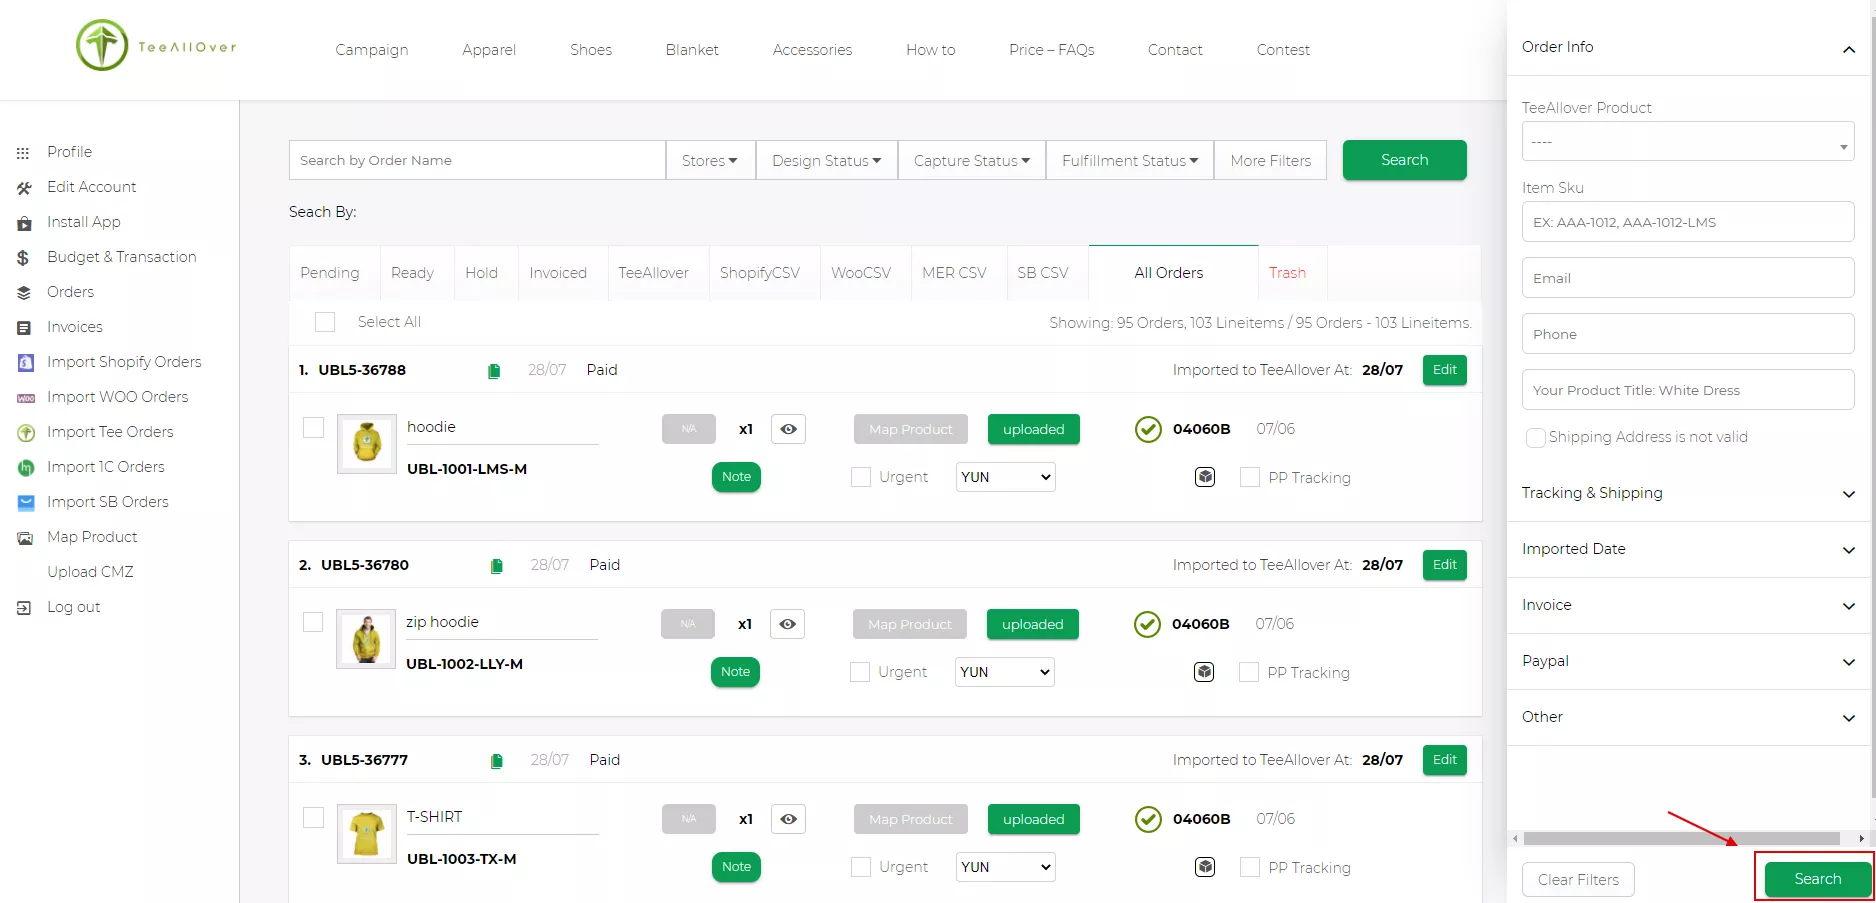
3.Click Orders to search your orders
 You can search all information about your Orders here
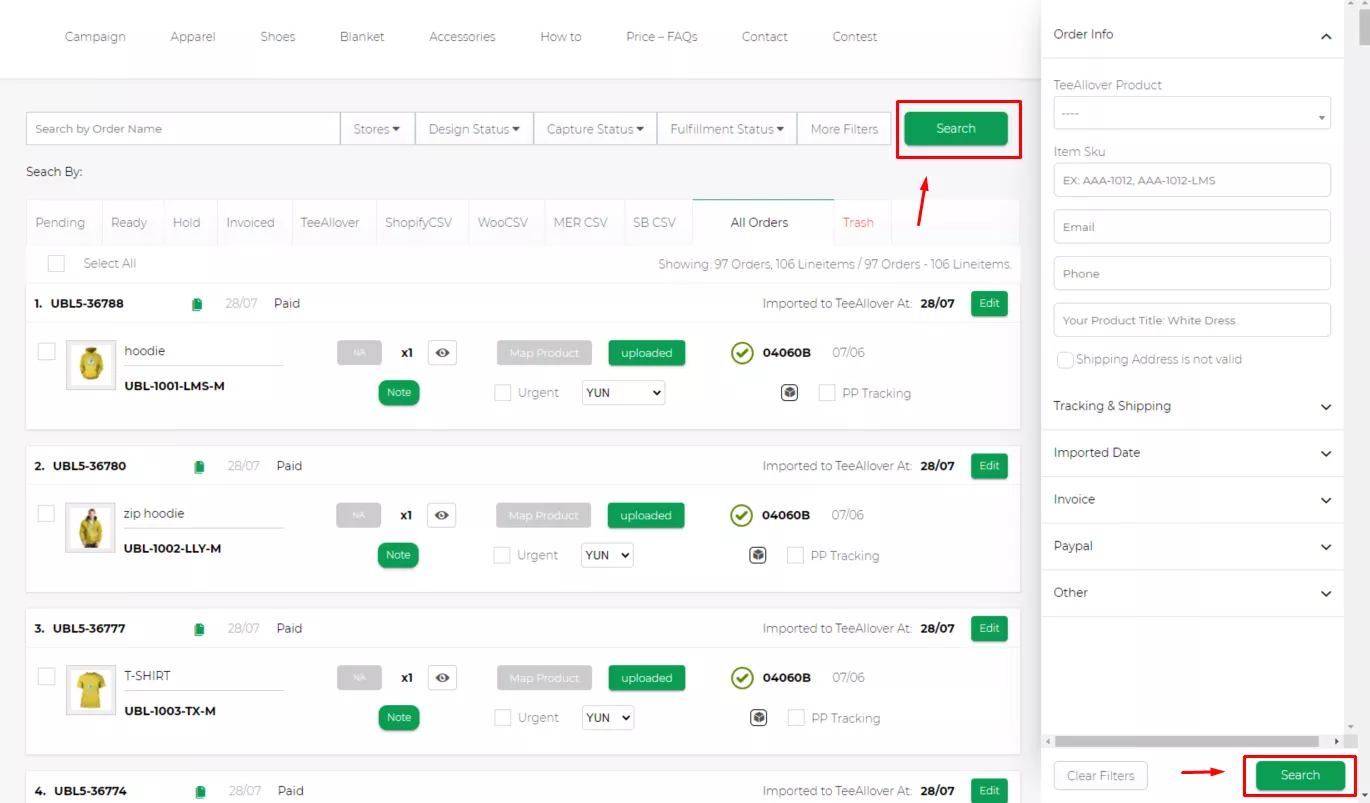
Example: *Check design- check your design is uploaded enough or missing design.
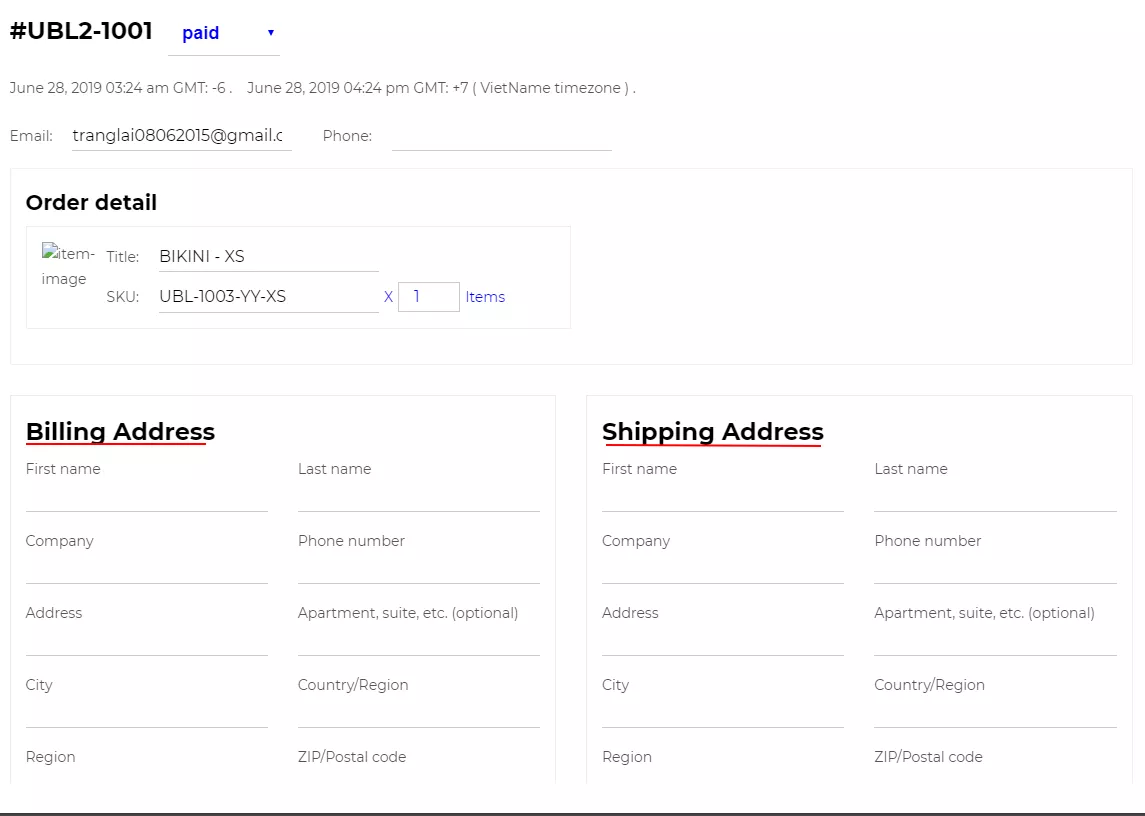
You can check Edit next to the customer information on the order screen and adjust some details in your orders.
 A tab will appear when clicked. Enter the extra information you needed or missing. Leave this blank if you do not want to display additional information.
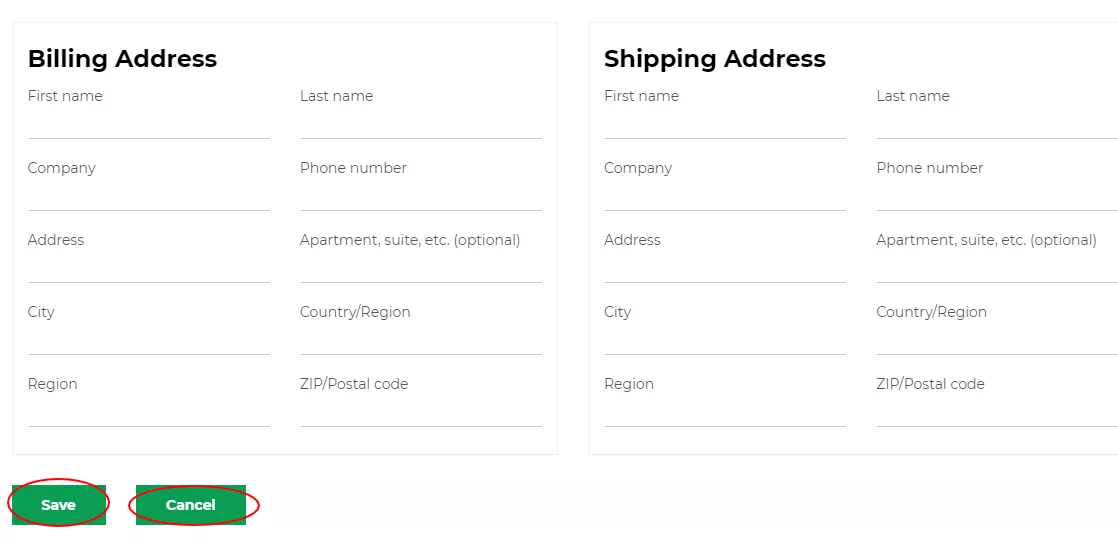
After you’re done, click Save or Apply changes
4. You will see Uploaded or Missing like below, when checked
1– Your design is uploaded enough.
2– Your design is missing design. So, If your case like “Missing” below, you must add more design to your product. Click Missing
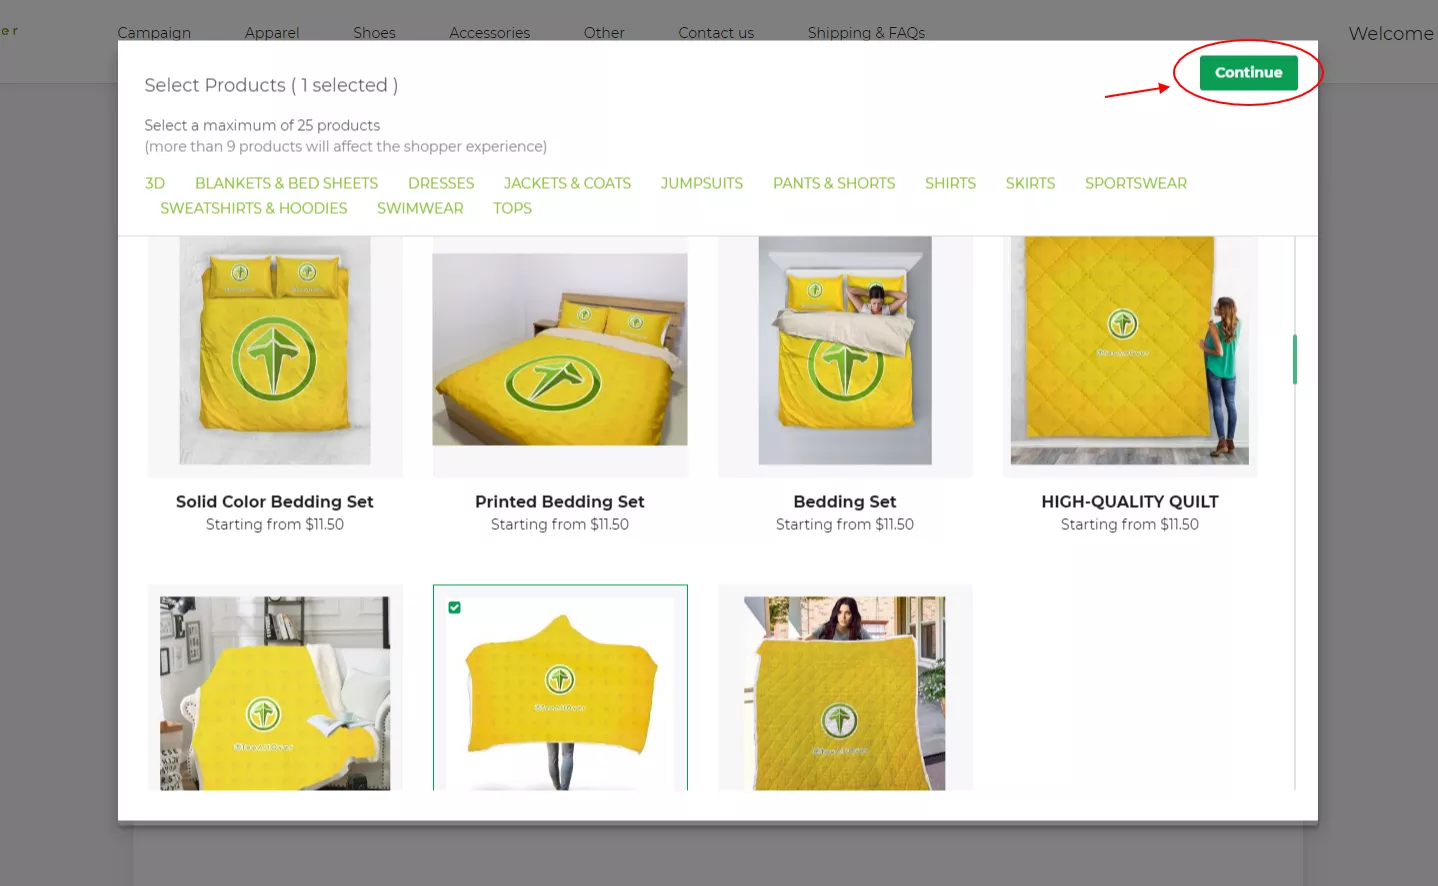
5. After that, Select products —->> Click continue
6.Upload Files
1-Design Number ( we auto-generated SKU on each product after you created them)
2,3– Tap the image icon at 1 and 2 at the right of the screen. Choose the source of your image, and then select the image that you want to use. You make sure that you have enough Mockup and Design files at all.
Then, Tap 4 the ” Add Image” position and Choose the file you want to upload from your computer. This function increases file upload speed on our app dramatically.
In addition, you can search image name, number,…etc as below. You can better manage your uploaded images
If you have finished all steps, you can click ” Create Campaign”
7. You should follow 3 steps like below:
1- Select a website that you wish to import
2- Click Create Product (After you finish your product Title and Description)
3. Click Download CSV to get a file CSV

8. Go to WooCommerce -> Products.
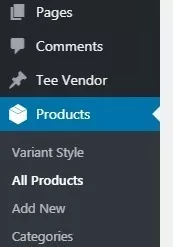 9.Next, Select Import

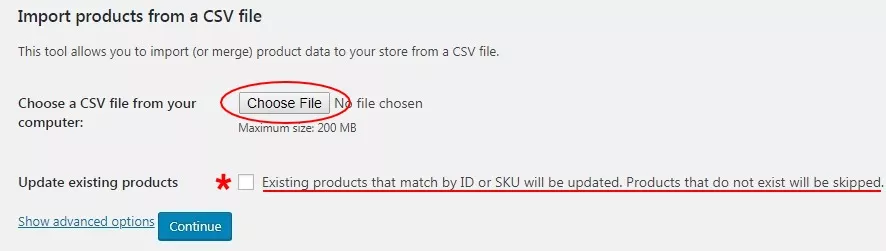
10.The Upload CSV Files screen displays. Then, Select Choose File and the CSV you wish you use.
Don’t tick the box (*). Next Step, click Continue
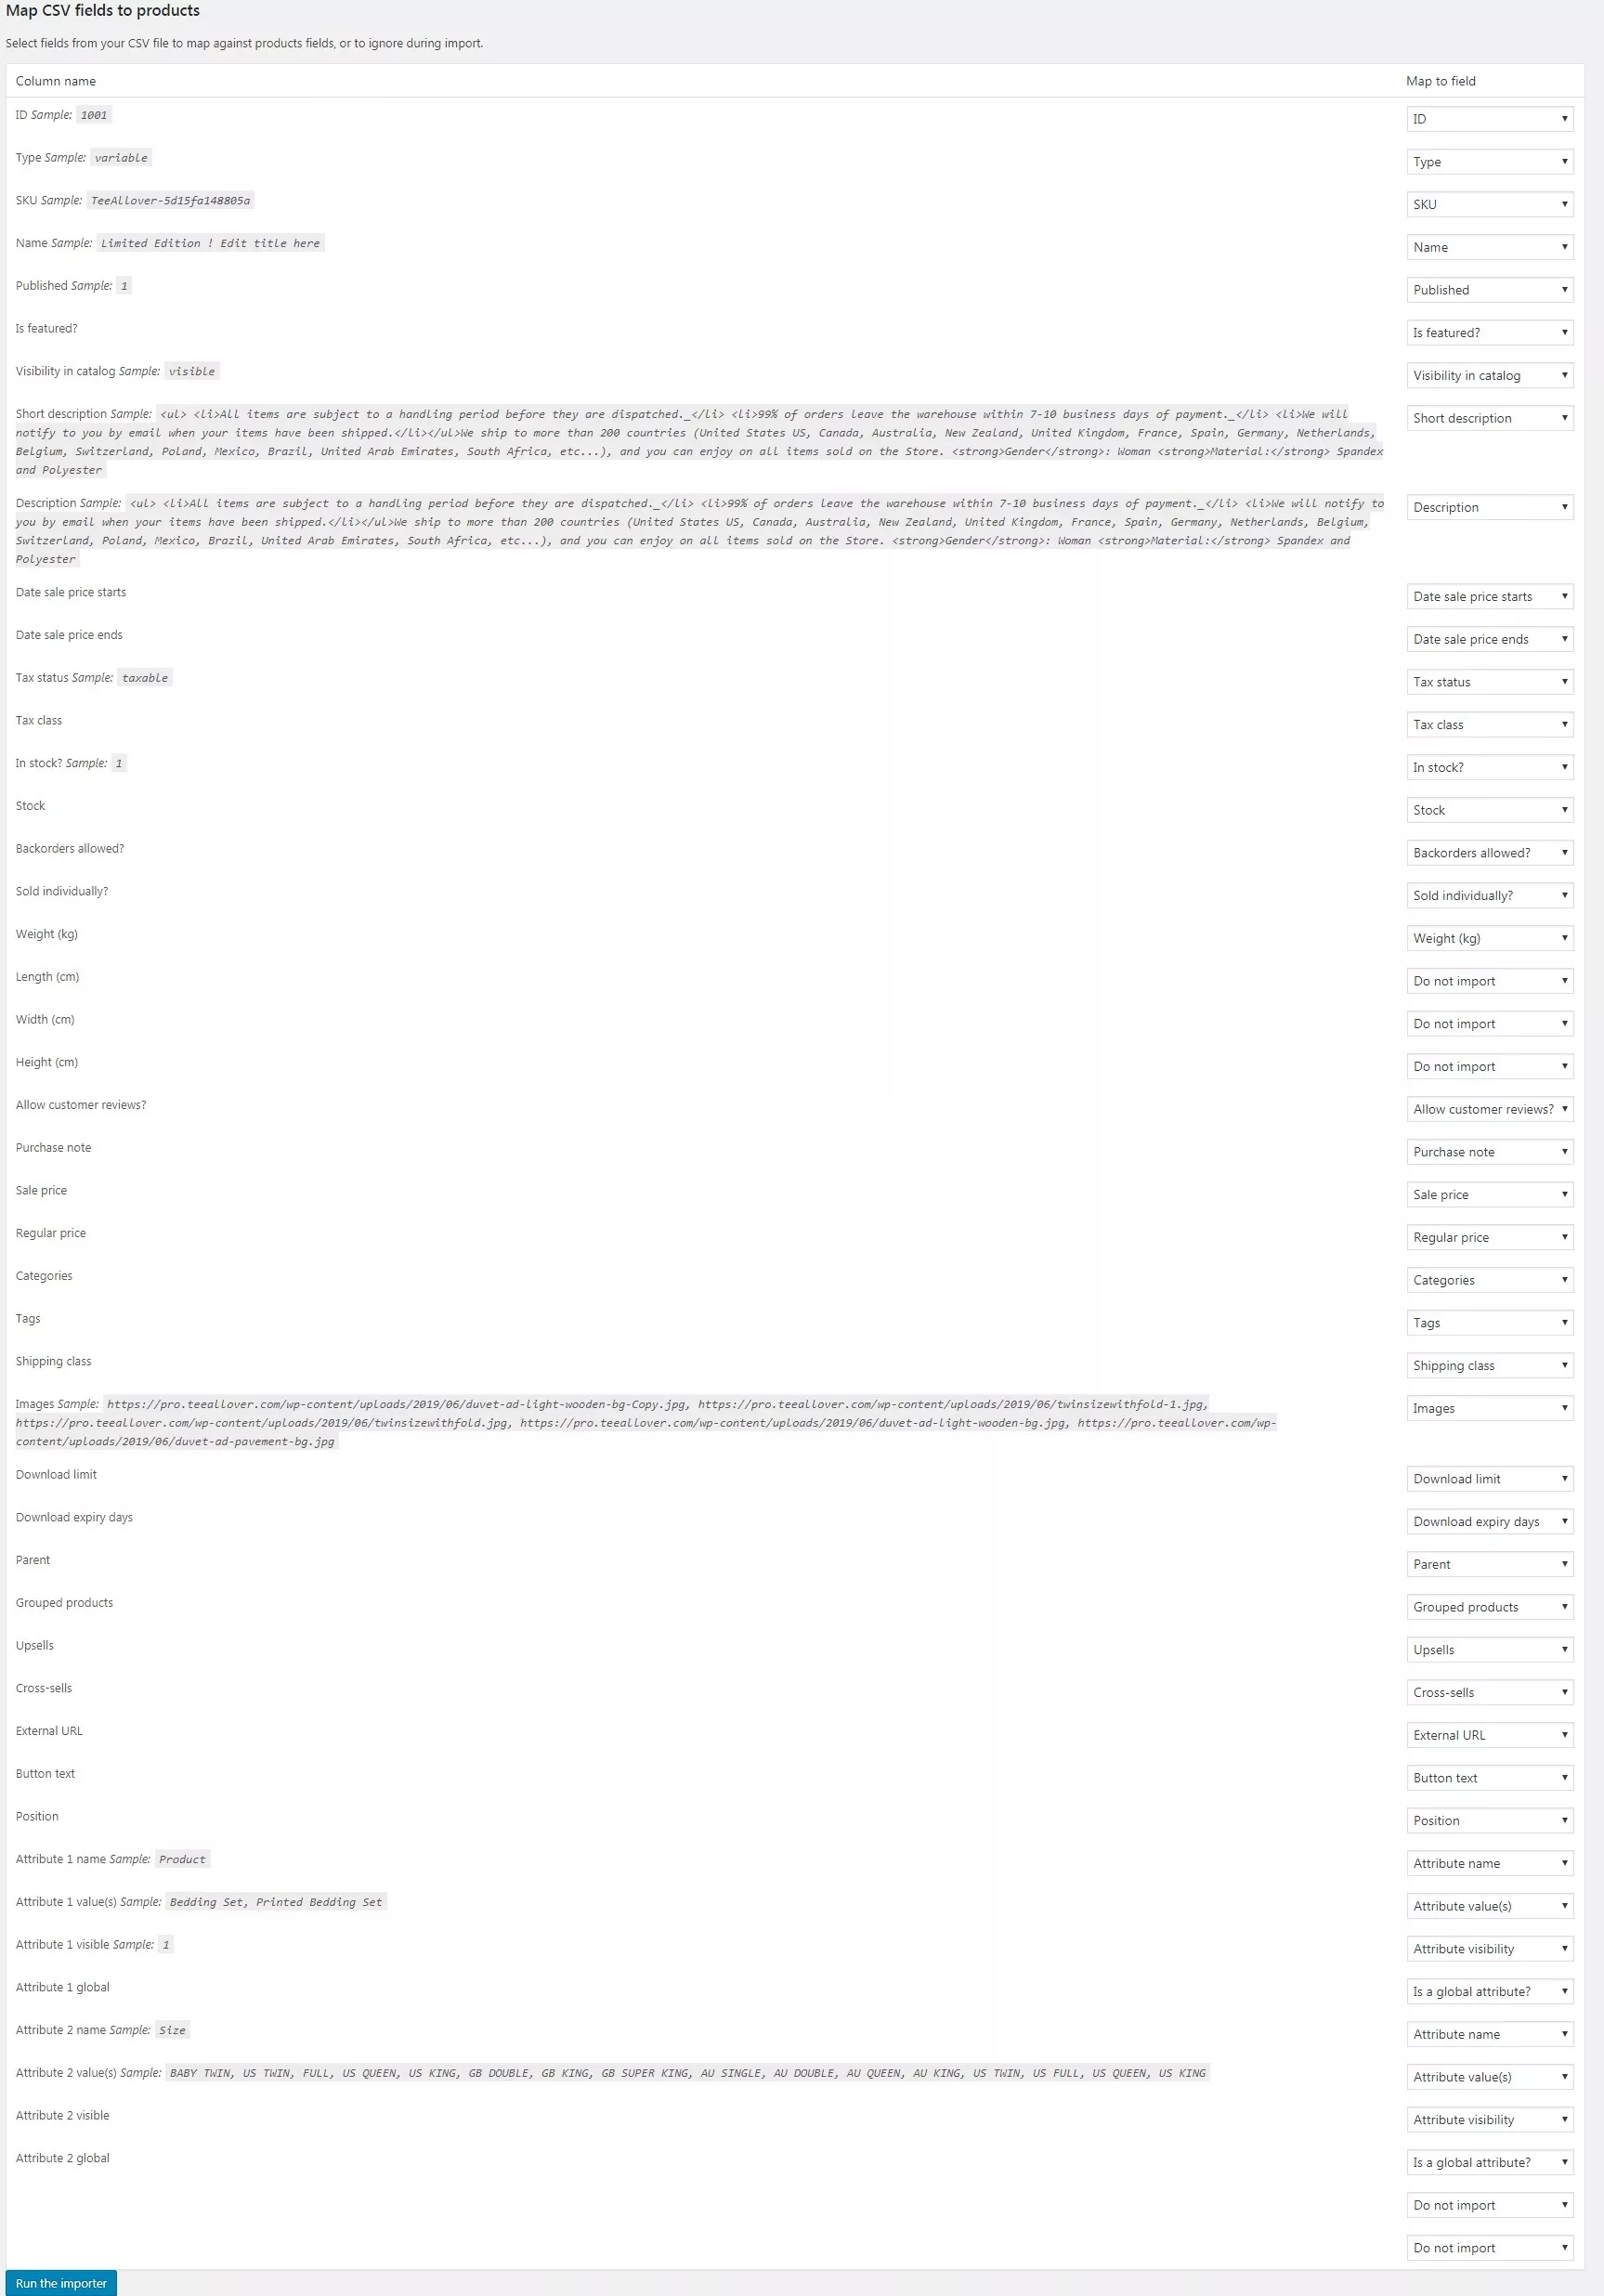
11. The Column Mapping Screen displays, and Woocommerce Automatically attempts to match or “map” the Column Name from your CSV to fields.
Use dropdown menus on the right side to adjust fields or indicate” do not import”
Then, Select Run The Importer
Wait until the importer is finished. Do not refresh or touch the browser while in progress.
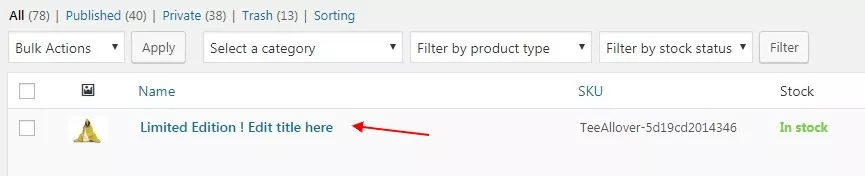
12.Finally, your product will look something like this after you’ve imported it: